

This DIY TV antenna is a cheap way to access free over-the-air television channels
Creating a TV antenna with a coaxial cable is a simple and cost-effective way to receive free over-the-air (OTA) television channels; of course, the best option is to acquire a purpose-built antenna for your desired range of television channels. However, it is sometimes necessary to build a makeshift antenna, and this article will help you with this.
You should read through the article completely before starting your build; information throughout the article is required for you to make an antenna that can receive television signals.
Locating your antenna outside can make a big difference to reception depending on your location relative to the broadcasting stations. Because of this proximity factor, you will likely receive some channels (stations) better than others.
The following is a step-by-step guide about how to make a basic dipole antenna using a length of coaxial cable
Materials and tools required for this project:
- Coaxial cable around 100 inches (2.5m) of RG-6 or RG-59 if you intend to have your antenna inside your house, you will require a longer length of coaxial cable if you intend to put your antenna outside via a window, etc; I have found many suitable lengths of cable already fitted with a connector at second-hand or recycling centers, they usually go for a couple of bucks.
- Wire cutters/strippers/utility knife.
- Ruler or measuring tape.
- Soldering iron and solder (optional).
- A piece of cardboard, foam board, or any non-conductive alternative for support, 18-20 .inches (450-500mm) square.
- Contact glue, adhesive tape, hot glue gun, thumb-tacks (anything to attach the wires to the board, wall, etc).
- A cable connector F-type or Belling-Lee(PAL), depending on your TV antenna connector.
F-type and Belling-Lee (PAL) connectors and adapters should they be needed Belling-Lee (PAL) male to F-Type female and F Type Male to Belling-Lee (PAL) Female.


Belling-Lee connectors, also known as PAL connectors, are the standard RF connector used in many European and Asian countries for connecting antennas to TVs and other devices.
While you might occasionally encounter Belling-Lee connectors in the USA, especially on some imported devices, the F-type connector is the prevalent standard for TV antenna connections in the United States.
I have found a video that does a good job of explaining and demonstrating the process of building a DIY coaxial antenna, and there are some useful links to a dipole calculator and also the frequencies of the various TV channels; you can transfer the frequency information to the dipole calculator to get the correct length of the elements(arms).

My instructions below are fairly generic, and the correct measurements for the dipole elements are important, especially if you are having problems receiving a particular channel. Try to match up the information you require for the station or stations that you wish to receive from the websites above, matching up the channel number, your location in regard to the transmission towers, the frequency of the channel you wish to tune into, and in turn, the length required for your elements.
Step 1: Measure the coaxial cable for the dipole elements
Measure the required length of cable for the dipole elements (arms) and mark that on the cable. This section will become the two dipole elements.
Step 2: Strip the coaxial cable
Using a wire cutter or stripper, strip the outer insulation, which is generally black or white plastic, from the coaxial cable to where it has been marked. You will see a braided shield made of thin wires and a central conductor inside this braid, be careful not to damage either of these wires. A few strands of the braid may come away, and that is ok; this usually happens if you don’t have the specialist tool for the job.
Step 3: Separate the braided shield and central conductor
Unbraid the braided shield from the central conductor on the stripped end of the coaxial cable down to the outer insulated coating; this can take some time. Once successfully un-braided, twist the braid down to where the cable insulation was cut this forms a single wire of sorts.
Now carefully strip the normally white plastic (sometimes foam) from the central conductor, do not strip it down too far; otherwise, the two bare wire elements can touch when they are folded flat to form a T shape in step 5. If the two element wires do touch the antenna will not work, leave about 0.25 inches (6mm) of the white central insulation, this usually ensures the wires don’t touch.
You now have two wires: the central conductor and the twisted braided shield.
Step 4: Prepare the support structure
Find a piece of cardboard or foam board large enough to accommodate about 12 inches (30cm) of the coaxial cable and the two antenna elements; a board 18-20 inches (450-500mm) square should be fine.
Step 5: Shape your antenna dipole and attach it to the board
Arrange the elements in a T configuration, with the coaxial cable at the center point and the elements about 2 inches (50mm) from the top of the board. Use glue or adhesive tape to secure the cable and elements to the board, ensuring they remain in the correct position. I find using cardboard support helps when trying to find reception because you are not touching the elements, which can affect the antenna’s performance.
Step 6: Connect the antenna to your TV
Attach the appropriate cable connector to the end of your coaxial cable; you may be lucky enough to have a cable that already has the correct connector attached, depending on your TV’s input, either F-type or Belling-Lee and connect the cable to your TV’s antenna input.
Step 7: Mount and test the antenna
Turn on your TV and set it to scan for available channels, start moving the antenna to different locations to find a location where you receive a signal, generally, higher up is better for reception.
Here is a very good website to help find stations, and this site also provides a lot of useful information.
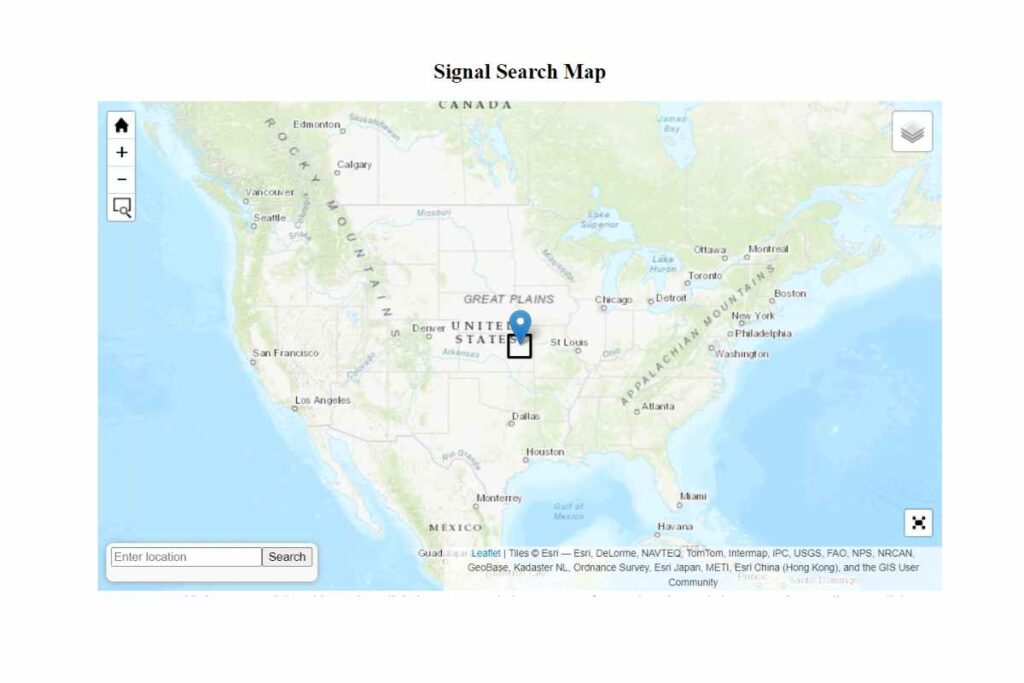
Picture source: Rabbitears info
If you attach the antenna elements to, say, the iron cladding on the outside of your house, you may find this will render your antenna useless; on the other hand, you may find the iron works as a reflector if you place your antenna some distance away and it helps your reception. The only way to find out is to spend some time finding out what works and what doesn’t; that’s just part of the DIY antenna-building process.
Step 8: Secure the antenna
Once you have found the best position for your antenna, secure it in place. You can use mounting brackets, screws, adhesive tape, or any other suitable method to attach the antenna support structure to a wall, window, or any other surface that provides stable support.
Step 9: Troubleshooting and fine-tuning
If you are not receiving the desired channels or experiencing weak signals, try adjusting the position and orientation of your antenna. Use an online signal locator tool from the websites above to find the direction of the TV transmitters in your area and then point your antenna towards the transmitter.
Sometimes, you may need to create a more advanced antenna design or use a signal booster to improve reception, especially if you live in a remote area or a location with significant signal obstructions.
Conclusion about TV antenna coaxial cable
By following these steps, you can create a simple and effective TV antenna using a coaxial cable. This DIY antenna is a cheap way to access free over-the-air television channels. Remember that the effectiveness of your homemade antenna will depend on your location, distance from TV transmitters, electrical interference, and the presence of obstacles that could affect the signal.
TV antenna coaxial cable FAQs
RG-6 and RG-59 and are both 75-ohm coaxial cables standard for television antennas. However, RG-6 is the preferred choice because it has lower signal loss and better shielding against interference. Given you are making a home made antenna it is unlikely that you would notice any difference in signal quality.
Yes, coaxial cable is the standard.
While RG11 cables offer better performance over long distances, they are more expensive and difficult to install compared to RG-6 or RG-59 cables. For most residential TV antenna installations, RG-6 is the preferred choice due to its combination of performance, flexibility, and affordability.
For a typical residential installation using RG-6 or RG-59 coaxial cable, the maximum length is around 200 feet (60 meters) before significant signal degradation occurs, however, this depends on the strength of the incoming signal. If you need to run a coaxial cable over a longer distance, you can consider using a higher-grade and higher priced cable like RG-11, which has lower attenuation characteristics.